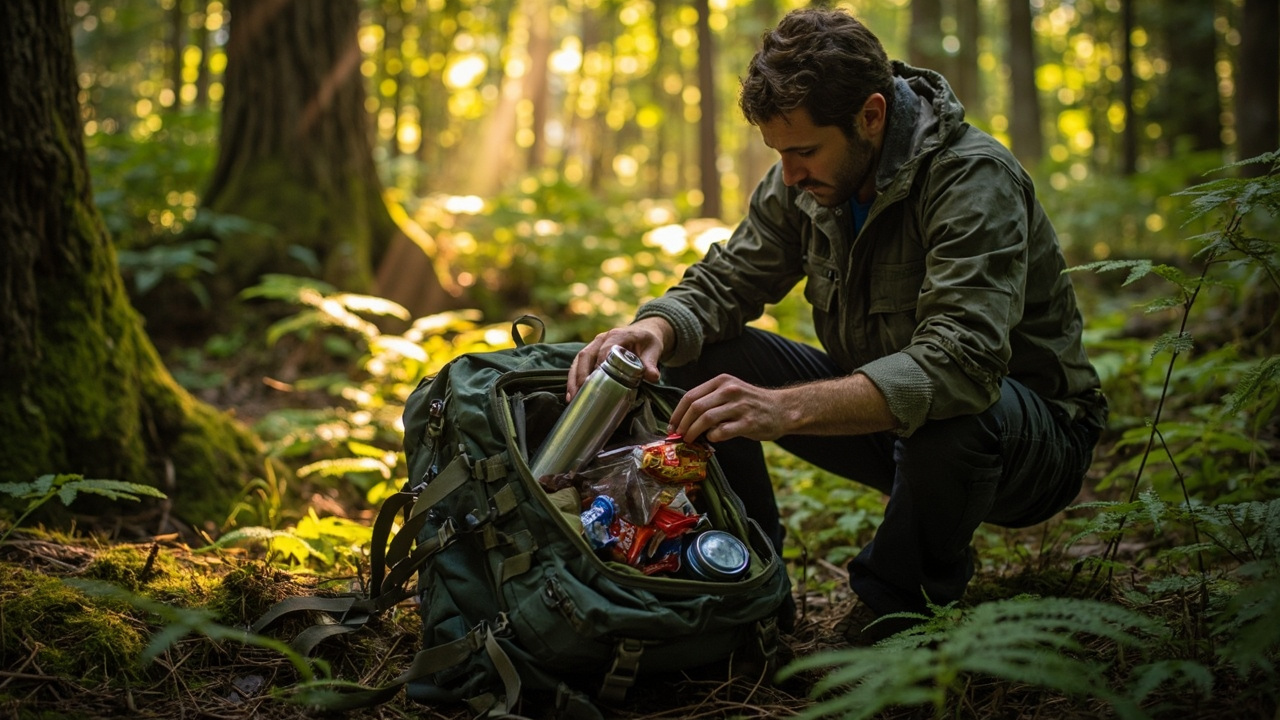
The Short Answer: A Five-Minute Gear Check Prevents Most Trail Emergencies
A structured pre-hike backpack inspection — verifying water supply, calorie sources, first-aid readiness, navigation tools, and the physical condition of the pack itself — is the single most effective safety habit any hiker can build. According to the American Hiking Society's 2023 Trail Safety Report, dehydration, navigation errors, and inadequate first aid are the top three causes of search-and-rescue calls in U.S. national parks and forests. Every one of those failures is detectable in a five-minute pre-departure audit.
This article walks through a complete, field-tested gear check protocol — item by item — so that when you pull your pack out of the closet, nothing is left to chance.
Why the Final Check Matters More Than You Think
Most hikers assume they remember what's in their pack from the last outing. That assumption kills people. Gear degrades, batteries drain, food spoils, and first-aid supplies get used and not replaced. The REI Co-op's 2024 Outdoor Safety Guide documents that roughly 40 percent of day-hikers leave the trailhead without the full "Ten Essentials" — the foundational checklist developed by The Mountaineers in 1974 and updated most recently in 2023.
A worn backpack fabric, a cracked water bottle lid, or an expired blister-pak in your first-aid kit are invisible problems until they become critical ones at mile seven. The inspection below addresses all of them.
Step 1: The Pack Itself — Inspect Before You Load
Check the Fabric and Seams
Pull the pack out of storage and lay it flat. Run your fingers along every seam. Look for:
- Fraying webbing on shoulder straps and hip belt — the two load-bearing structures that fail first
- Delaminating fabric on the base panel, where moisture and abrasion concentrate
- Broken buckles or cracked plastic on sternum straps
- Zipper slider looseness — a zipper that moves but doesn't close is a gear-loss waiting to happen
If the fabric shows visible wear-through or the coating is peeling (a sign of hydrostatic head failure), treat the pack with a DWR (Durable Water Repellent) spray such as Nikwax TX.Direct before your hike. A soaked pack on a cold day accelerates hypothermia risk. Replace the pack entirely if the frame is bent or the hip-belt padding has compressed to less than half its original thickness.
Weight Distribution Audit
Heavy items (bear canister, water, cook system) belong against your spine and centered between your shoulder blades and hip belt. Gear packed high and away from your back shifts your center of gravity, increasing fall risk on technical terrain — a finding documented in a 2022 biomechanics study published in the journal Applied Ergonomics showing a 17 percent increase in lateral sway with improperly loaded packs.
Step 2: Water — The Non-Negotiable
Dehydration is the leading contributor to impaired judgment on trail. The American Hiking Society recommends a minimum of half a liter (17 oz) of water per hour of moderate hiking, adjusted upward for heat, altitude, and exertion level.
During your pre-hike check:
- Fill your primary bottle or reservoir to capacity. A standard 32-oz Nalgene or 3-liter Osprey Hydraulics reservoir is a reasonable day-hike start.
- Inspect the lid seal or bite valve. Cracked O-rings and loose Hydraflask lids are the most common single-point failures.
- Verify your backup filtration. A Sawyer Squeeze filter (rated to 100,000 gallons) or Katadyn BeFree is compact insurance against running dry before the trailhead.
- Check the reservoir tube for mold. If you stored the reservoir without drying it, black mold forms in the tube within weeks. A bleach rinse (one teaspoon per liter, 30-minute soak) clears it.
Step 3: Calorie Sources — Energy Bars and Beyond
Energy bars are a default trail food because they're calorie-dense, shelf-stable, and require no preparation. But "shelf-stable" is not "immortal."
- Check expiration dates. Most commercial bars (Clif, Kind, RX Bar) carry 12–18 month shelf lives. A bar expired by six months may be safe to eat but will have degraded fat quality and reduced palatability — relevant when you need to force calories at altitude.
- Count calories against your planned mileage. The general rule: 100 calories per mile for moderate terrain, more for elevation gain above 1,000 feet per mile. A 10-mile day hike with 2,000 feet of gain demands roughly 1,200–1,500 calories from trail food alone.
- Diversity matters. If your only food source is one type of bar and you have an unexpected intolerance reaction (common with high-fructose corn syrup in heat), you have no backup. Carry mixed formats: nuts, jerky, dried fruit, or a nut-butter packet alongside bars.
Step 4: First-Aid Kit — The Items Most Hikers Get Wrong
A first-aid kit pulled from a closet six months after the last trip is almost certainly incomplete. The Wilderness Medical Society's 2023 Practice Guidelines identify blister management, wound closure, and improvised splinting as the three most-used field interventions — none of which require an EMT certificate.
Minimum contents for a day-hike first-aid kit:
| Item | Quantity | Notes |
|---|---|---|
| Moleskin / blister pads | 4–6 sheets | Cut to fit; pre-cut versions save time |
| Nitrile gloves | 2 pairs | One pair per significant wound |
| Wound closure strips (Steri-strips) | 1 pack | Replaces sutures in field settings |
| Irrigation syringe | 1 | For cleaning dirt from deep cuts |
| SAM splint | 1 | Covers wrist, ankle, and finger splints |
| Israeli bandage (6-inch) | 1 | Doubles as pressure bandage and tourniquet wrap |
| Ibuprofen / acetaminophen | 6–8 tablets each | Anti-inflammatory plus fever management |
| Diphenhydramine (Benadryl) | 4 tablets | Mild allergic reaction management |
| Emergency whistle | 1 | Three blasts = universal distress signal |
| Space blanket | 1 | Weighs 2 oz; prevents hypothermia during unexpected bivouac |
Replace any item you used on your last trip. Check expiration dates on medications — expired drugs lose potency and may cause adverse reactions.
Step 5: Navigation — Compass and Map, Not Just GPS
A compass is the most underused item in most hikers' packs. Smartphone GPS fails when batteries die, when screens crack, or when you enter a canyon with no signal. The compass does not.
Pre-hike compass checks:
- Declination setting. In the continental United States, magnetic declination ranges from -20° (Pacific Northwest) to +20° (Maine). If your baseplate compass (Suunto A-10, Silva Ranger) has an adjustable declination, verify it matches the current NOAA declination for your hiking region. Declination shifts approximately 0.1° per year, so a compass set five years ago may be two degrees off — enough to miss a trail junction by hundreds of meters.
- Map currency. USGS topographic maps are updated on rolling schedules. Download the latest version from USGS TopoView before a trip into unfamiliar terrain.
- Battery backup for GPS devices. If you carry a Garmin inReach or similar satellite communicator, verify the battery is above 80 percent. These devices draw charge in standby mode; a device left in the pack for three weeks may be at 40 percent.
Step 6: The Overlooked Essentials
The five categories above cover the core of most pre-hike audits, but the REI Co-op's 2024 Outdoor Safety Guide lists several items that round out the Ten Essentials and are frequently omitted:
- Sun protection: Sunscreen (SPF 30 minimum), sunglasses, and a hat. UV exposure at 10,000 feet is roughly double that at sea level.
- Illumination: A headlamp with fresh batteries. Petzl, Black Diamond, and BioLite all make sub-3-oz models with 200+ lumen outputs adequate for trail navigation.
- Fire-starting: A BIC lighter plus a ferrocerium rod as backup. Waterproof matches in a sealed container add negligible weight.
- Emergency shelter: A bivy sack or emergency space blanket — separate from the one in your first-aid kit.
- Knife: A locking blade or multi-tool for shelter construction, gear repair, and food prep.
Building the Habit: The 5-Minute Protocol
The difference between a gear check that actually happens and one that gets skipped is making it automatic. Attach your checklist — laminated or in a notes app — to the outside of your pack so it's the first thing you see when you pull it out of the closet.
A suggested sequence:
- Inspect pack exterior (seams, buckles, zippers) — 60 seconds
- Verify water volume and filtration backup — 60 seconds
- Count calories and check bar expiration dates — 60 seconds
- Open first-aid kit, verify contents against your master list — 90 seconds
- Check compass declination and map currency — 60 seconds
Total: approximately five minutes. The American Hiking Society notes that hikers who conduct pre-trip gear audits report significantly fewer equipment-related incidents, and search-and-rescue teams consistently cite preventable gear failures as a factor in the majority of wilderness rescues they respond to.
Your pack may show wear. Your bars may be close to expiration. Your compass declination may be slightly off. None of those are emergencies — they're data points. Find them at home, not at mile eight.
Sources referenced
- American Hiking Society — Trail Safety (https://americanhiking.org/resources/trail-safety/) informed this article's reporting and source checks.